The sight of a shiny new vaporizer is enticing and exciting. But once we start using it, we tend to neglect the importance of maintenance.
Vape devices accumulate residual e-liquids, dirt, and dust over time. While it may have little effect on the device’s aesthetics, these pollutants severely impact the performance and cause damage to the various components over time.

So, here we take you through six simple steps for cleaning your vape device, the tank, coil, and other components. Follow them to keep your device in the best shape to prolong its life and optimize its performance.
Steps To Clean Your Vape Device
1. Disassemble The Device
Start by disassembling your vape device. The various parts of the device are typically held together by metal threads. Simply unscrew them and take the pieces apart. The drip tip is attached to a rubber grommet. Now gradually remove the glass globe from the metal end caps without damaging the rubber brushings and place them aside.
Remember not to apply pressure while unscrewing or screwing the various parts. The threads should be nothing more than hand-tight, or it could permanently damage your device leading to leakage. If the threads are too tight to unscrew, place the device in the freezer for about 20 minutes and it should contract the metal in the region and help you open it easily.
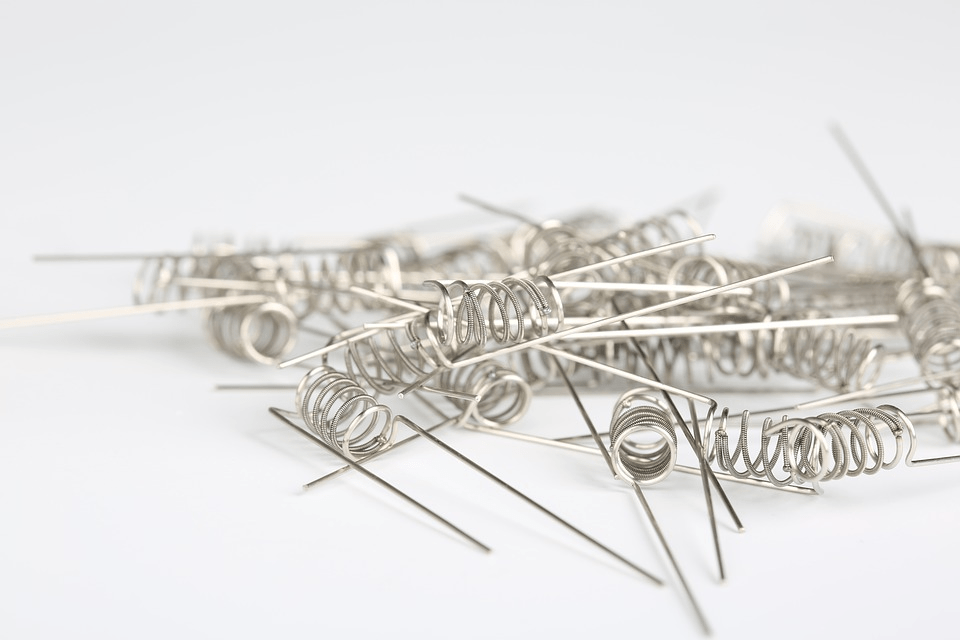
2. Inspect And Clean The Coil
Clearomizers and sub-ohm tanks come with replaceable coil units that are easy to clean. But cleaning may not significantly impact performance in this case, and therefore the best option is to replace it. Inspect the unit to identify any damages. Look for signs of cracks, crusts, breaks, or excessive burning that indicate the need for replacement. Purchase the appropriate replacements and install them to ensure the best experience. For cleaning the unit,
- Dip the coil in ethanol or vinegar and let it rest for a few hours.
- Remove and wash with distilled water.
- Blow-dry to remove water from the air holes.
- Coil is ready to install.
Rebuildable atomizers, on the other hand, require extensive cleaning that reflects directly on the performance.
- Remove the wick from the coil and place the set up under running water.
- Use a toothbrush to scrub and remove the deposits on the coil lightly.
- Rinse in water and assemble to the atomizer.
- Conduct a dry coil burn by firing the device. It will remove the water droplets and get your coil ready for use.
3. Clean The Tank And Other Components
It is time to clean your vape tank and other components, such as a sliding airflow ring. For this,
- Add warm water to a large container and mix two tablespoons of baking soda. You can also use lemon juice or dish soap instead of baking soda for the cleaning.
- Place the tank and other components inside the container and let it rest for about an hour.
- Remove the parts one by one and rinse them under running water. You can mildly scrub them if necessary to remove any sticky residues.
- Pat dry the parts using paper towels and place them aside.
Tip: Vinegar, cheap vodka, or ethanol will also work well as a cleaning agent.
4. Check For Damage
Once dry, inspect each component thoroughly for cracks or damages. Make sure the metal threads are intact as they ensure proper sealing.
If you see any signs of damage, the best option is to replace the parts to avoid leakage or accidents. You can go through the original box of the device to check if any spare parts were provided. If not available, you can purchase the correct parts from any reputed vape store.
5. Clean The Drip Tip
Don`t forget to clean the drip tip as it directly affects the flavors of the vapors. Drip tips tend to collect dirt, dust, and lint from storing in your pocket. So cleaning it properly is crucial to ensure the best performance.
Remove the tip and rinse it under warm water. Wipe off with a paper towel and let it dry. If there is e-liquid deposited on the tip, use a soft cloth or wet paper towel to remove it.
6. Assemble Your Device And Vape Away
Finally, it is time to put your device back together. Double-check to ensure all the parts are completely dry. Now slowly start assembling the device in reverse order of disassembly. Be careful not to apply too much pressure while screwing in the rings or other connectors to avoid damaging them.
Now take a few drops of the vape juice and prime the coil. Given it is freshly cleaned, dipping the coil in vape juice helps avoid burning. Test fire the device to check if it is working properly. Your device is now gunk-free and ready to vape. Press the power button and take smooth, long drags to enjoy the delicious flavors.
Conclusion
Follow these six simple steps to remove dirt and gun deposits in your vape device that could severely impact its performance and lifespan. Remember to schedule a clean-up once every week to keep your device in the best shape.